Understanding Exposure Control in Photography: A Guide for Visual Content Creators
- Bernard Kenol
- Aug 3, 2025
- 4 min read
Updated: Oct 19, 2025

Exposure control in photography is essential for anyone looking to create stunning visual content. It refers to managing the amount of light that reaches the camera's sensor, which determines the brightness and overall appearance of your images. This process is governed by three primary settings: aperture, shutter speed, and ISO. Together, these elements form what is commonly known as the "exposure triangle". By adjusting these settings, photographers can achieve not only well-exposed images but also artistic effects like depth of field and motion blur.
What is Exposure?
Exposure is the process that influences how much light the camera sensor needs to capture a photo. Modern digital cameras automatically calculate exposure, making it easier for photographers. When you press the shutter button, the camera's aperture opens, allowing light to stream in and activate the sensor. The exposure is the amount of light that reaches the sensor, creating visual data over a specific period. This time frame can range from fractions of a second to several hours.
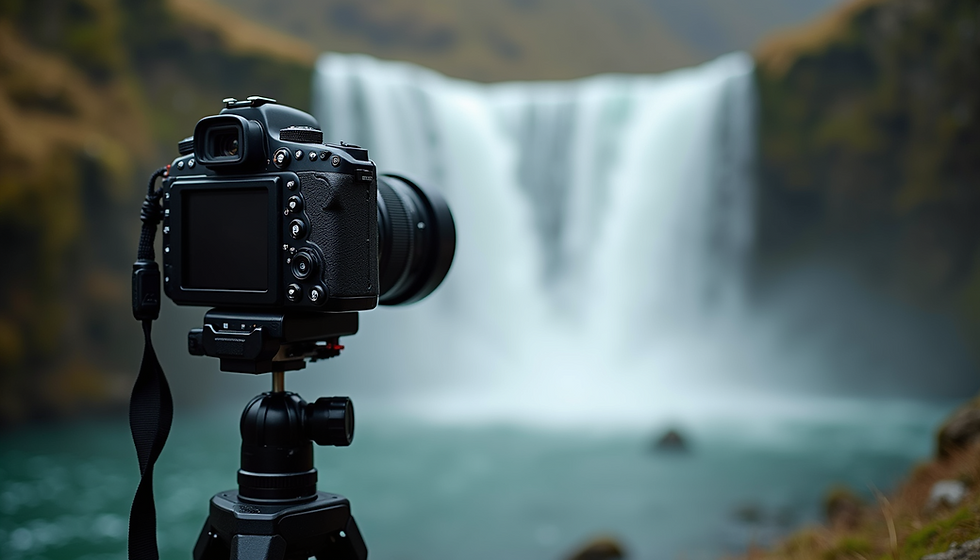
If there’s less light, you’ll likely want to use a slow shutter speed. You can still achieve well-exposed images in low-light conditions by setting up your camera correctly. Some nighttime photographers leave their shutter open for several seconds or even longer. In long exposure photography, the shutter can remain open for minutes or even hours. However, keep in mind that the longer the shutter is open, the more motion blur you may encounter. Tripods are excellent tools for avoiding motion blur.
For example, to capture a stunning image in Rio de Janeiro in 2018, I used a tripod with a Nikon D350 and a zoom lens of 18-55 mm at f/3.5-5.6. When shooting in poor light conditions, a tripod is essential. I set my shutter speed to 1/6 of a second and increased my ISO to 12,800. While using a higher ISO can help in low-light situations, it may also introduce graininess to your photos. Soon, on August 8th, I’ll be attending a night group Photowalk with the famous Nikon Ambassador Taku Kumabe, where it’s specified to bring a tripod for moon photography.
The Importance of Shutter Speed
Faster shutter speeds are ideal for capturing quick action. If you’re photographing an event and want to capture candid expressions, aim for a shutter speed of 1/400 of a second or faster. For high-paced activities, like sports, you may need an even quicker shutter speed. Photographers capturing fleeting moments, such as a basketball player making a slam dunk, might only have their cameras open for 1/1000 of a second to freeze that exact moment. For shoots with shutter speeds of more than 1/60 of a second, a tripod is generally not necessary.
Finding the right exposure is a balancing act. Overexposure results in bright highlights and faded images, while underexposed images appear dark and hard to see. Understanding these basics will help you master camera exposure and achieve the right settings for your work.
Aperture: The Eye of the Camera
Aperture refers to the opening in the lens through which light passes. It is measured in f-stops, with lower numbers indicating a wider opening that allows more light in. A wider aperture (e.g., f/1.8) can create a shallow depth of field, which is great for portraits where you want the subject to stand out against a blurred background. Conversely, a smaller aperture (e.g., f/16) increases the depth of field, making more of the scene in focus, which is ideal for landscape photography.
Adjusting the aperture not only affects exposure but also influences the mood of your images. A wide aperture can create a dreamy, ethereal effect, while a narrow aperture can lend a sense of clarity and detail. Experimenting with different apertures can help you discover the unique style that best represents your vision.
ISO: Sensitivity to Light
ISO measures the sensitivity of your camera's sensor to light. A lower ISO (e.g., 100) is ideal for bright conditions, while a higher ISO (e.g., 3200 or 6400) is useful in low-light situations. However, increasing the ISO can introduce noise or graininess to your images, which may not be desirable.
Finding the right ISO setting is crucial for achieving the best exposure. In well-lit environments, keep your ISO low to maintain image quality. In darker settings, raise the ISO to capture more light, but be mindful of the potential for grain. Balancing ISO with aperture and shutter speed is key to mastering exposure.
The Exposure Triangle: A Harmonious Balance
The exposure triangle consists of aperture, shutter speed, and ISO. Each element affects the others, and finding the right balance is essential for creating well-exposed images.
Aperture controls the amount of light entering the camera and affects depth of field.
Shutter speed determines how long the sensor is exposed to light, influencing motion blur.
ISO adjusts the sensor's sensitivity to light, impacting image quality.
By understanding how these three elements interact, you can make informed decisions to achieve your desired exposure.
Practical Tips for Mastering Exposure
Experiment with Settings: Don’t be afraid to play around with different combinations of aperture, shutter speed, and ISO. Take notes on how each setting affects your images.
Use Manual Mode: If you’re comfortable, switch to manual mode on your camera. This allows you to have full control over exposure settings.
Check Your Histogram: Use the histogram feature on your camera to assess exposure. A well-balanced histogram should not have spikes at either end, indicating that you’re avoiding overexposure and underexposure.
Practice in Different Lighting Conditions: Challenge yourself by shooting in various lighting situations. This will help you learn how to adjust your settings accordingly.
Learn from Others: Study the work of other photographers. Pay attention to their exposure settings and how they achieve different effects.
Conclusion
Mastering exposure control is vital for anyone looking to create professional visual content. By understanding the exposure triangle and how aperture, shutter speed, and ISO work together, you can elevate your photography skills. Remember to practice, experiment, and most importantly, have fun with your camera. Whether you’re capturing special moments or building a strong brand identity, the right exposure will help you create meaningful visuals that resonate with your audience.


Comments